System Requirements
- macOS 14.6+ (Sonoma) or later
- Requires under 50MB of disk space.
- Uses less than nder 50MB RAM usage
- Uses less than 1% CPU usage during normal operation
- Optimized for Apple Silicon, fully compatible with Intel Macs
Installation
- Download Chronode Basic.
- Open the downloaded application.
- The app will appear in your menu bar (top-right corner of your screen).
Initial Setup
Granting Permissions
Chronode requires certain macOS permissions to function properly:
Accessibility API Access
When you first launch Chronode, you'll be prompted to grant Accessibility permissions. This allows Chronode to:
- Monitor which applications are running
- Detect active windows and projects
- Track time automatically
To grant Accessibility access:
- Open System Settings → Privacy & Security → Accessibility.
- Click the lock icon to make changes.
- Enable the toggle or checkbox next to Chronode.
File System Access
For supported apps with project detection, Chronode needs to read project configuration files. You'll be prompted when this is needed.
To grant File System access:
- Open System Settings → Privacy & Security → Files and Folders.
- Locate Chronode in the list.
- Grant access to the necessary folders.
First-Time Configuration
Adding Your First App
- Click the Chronode icon in your menu bar to open the app.
- Once the app is open, click the button at the bottom of the sidebar.
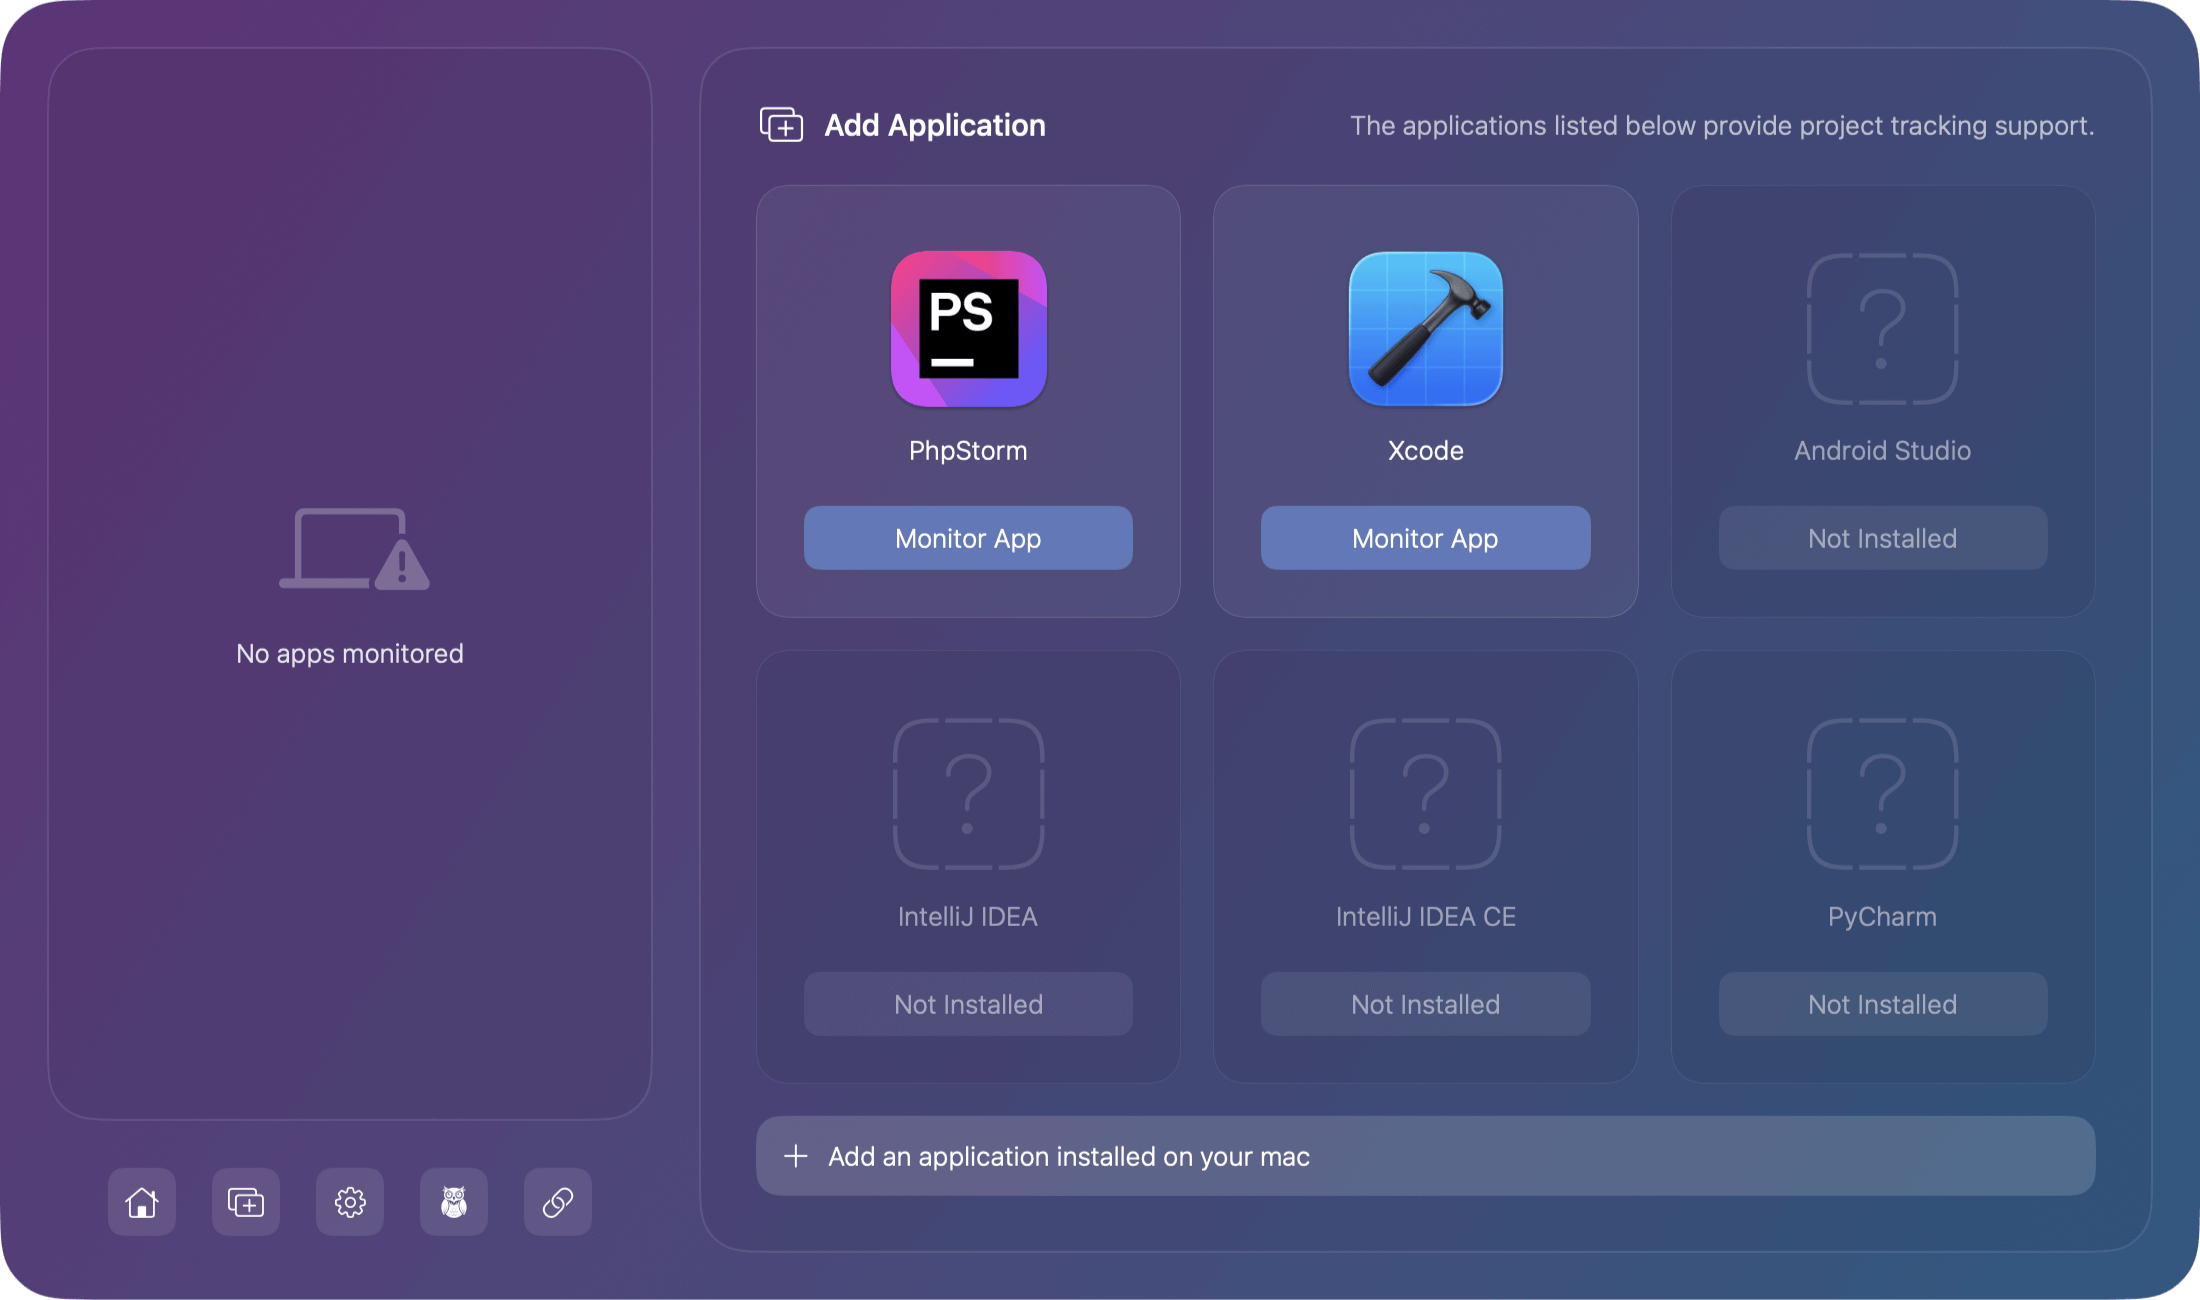
- Select an app from the list shown or Click "Add an application installed on your Mac".
- The app will appear in your monitored apps list with a sage green indicator showing the app as being actively monitored.
Understanding the Interface
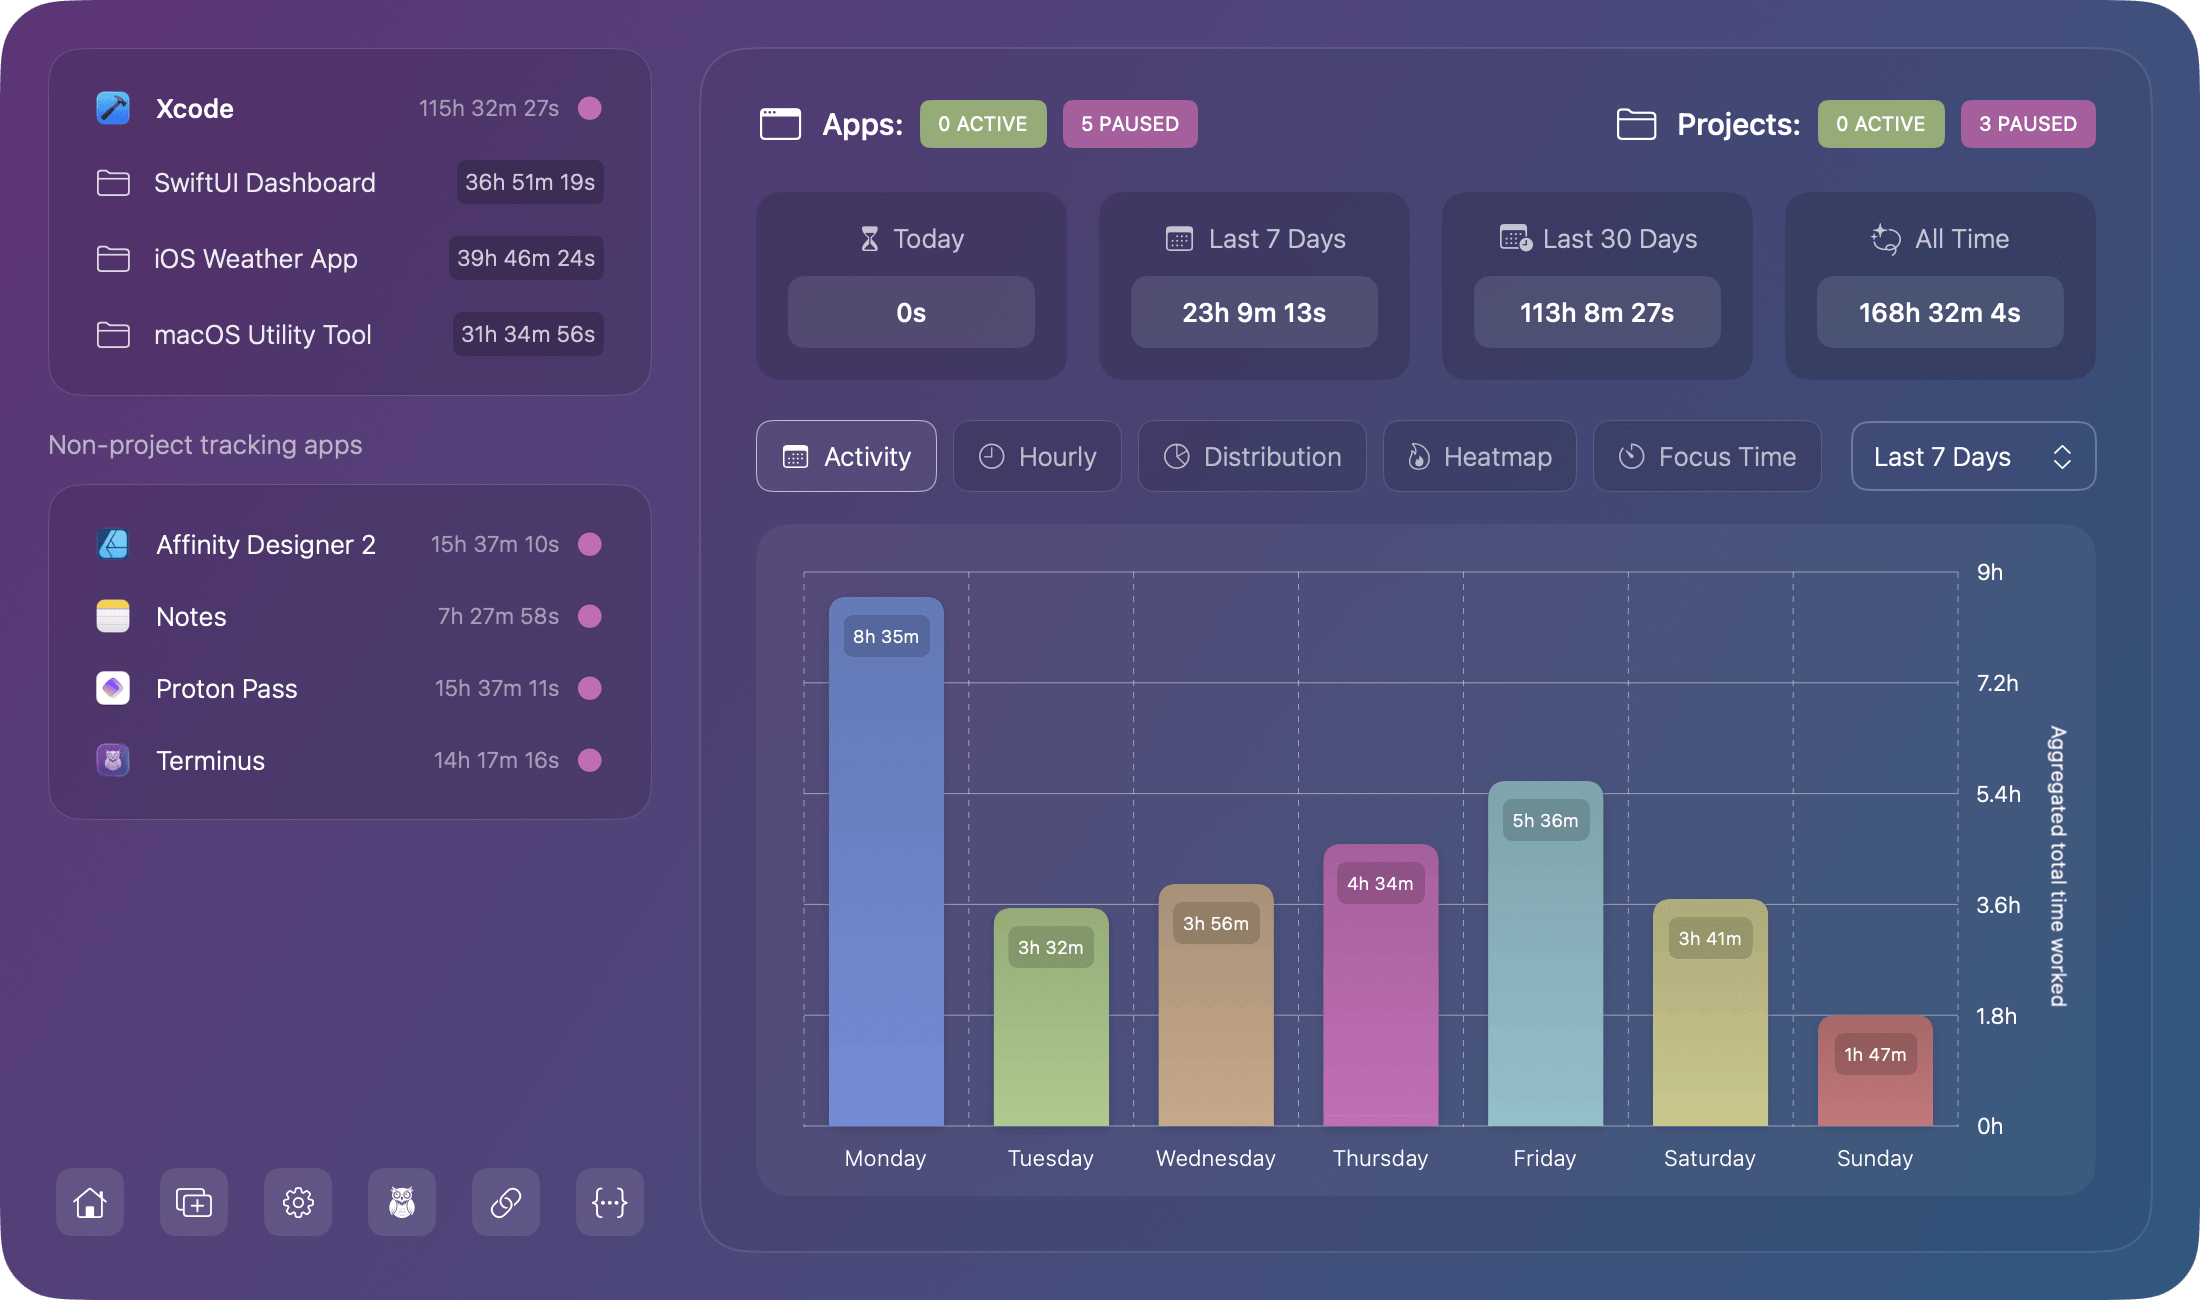
The interface has been intentionally designed to be as simple as possible while retaining compact functionality. When you open Chronode from the menu bar, you'll see:
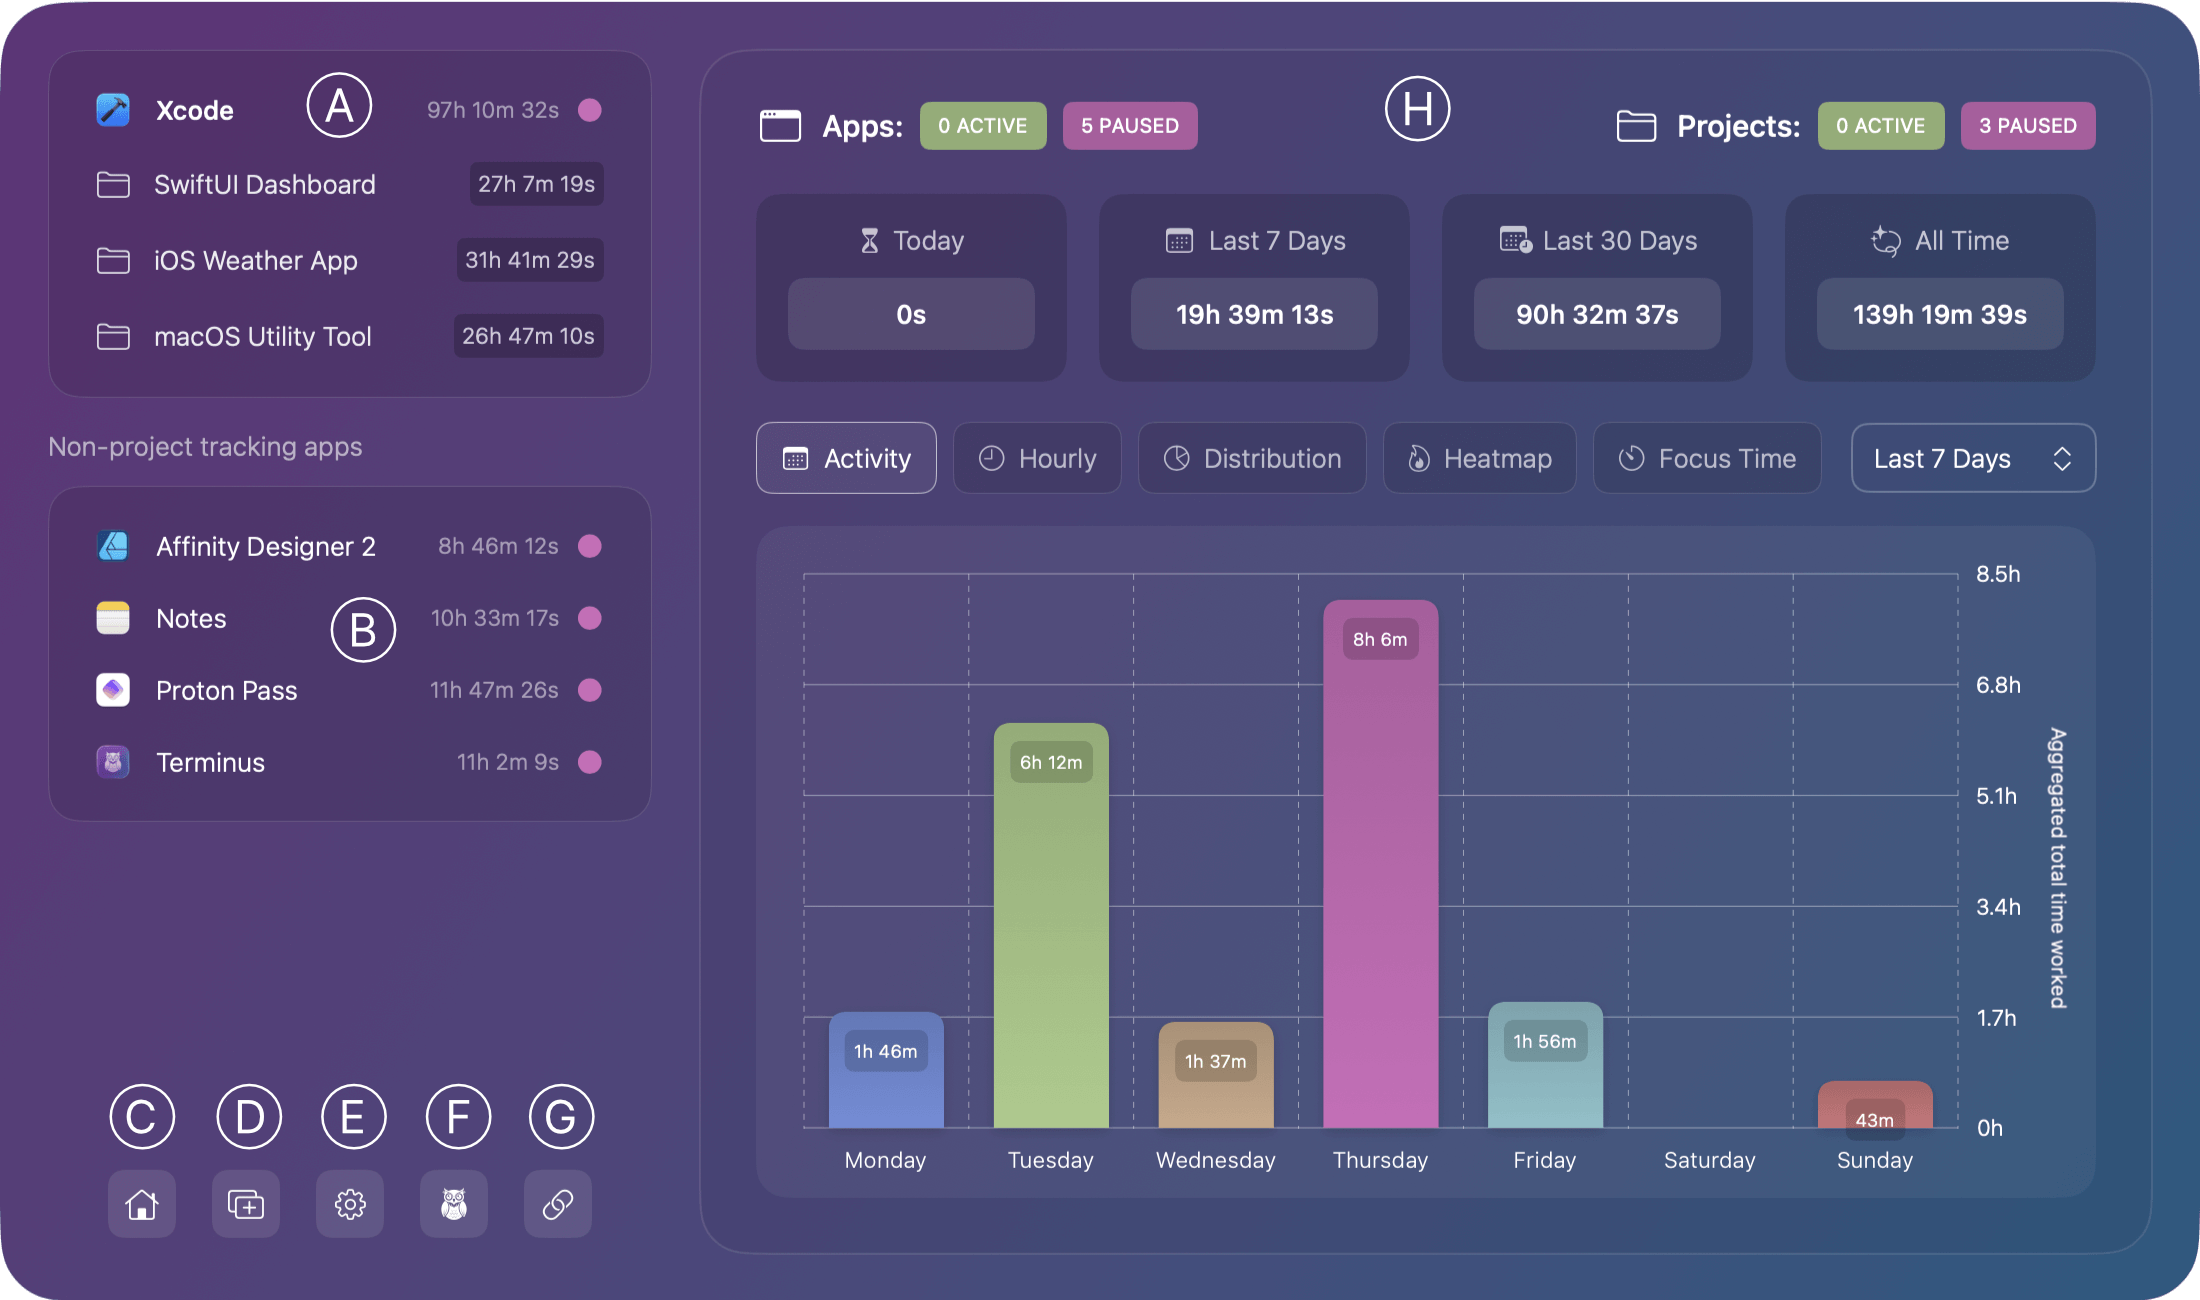
Sidebar (left)
- A - List of added apps with project tracking supported
- B - List of apps without project tracking
- C - An statistical overview of all added apps
- D - Add a new app to be monitored
- E - Manage application Settings & Preferences
- F - About the app including version and build reference.
- G - Visit the Chronode app website
Main Window (right)
- H - Main app window where reporting is available per app, project or overall.
Starting Time Tracking
Chronode begins tracking automatically once you:
- Add an app to monitor
- Ensure the sage green indicator is visible next to the app
- Launch the monitored application
That's it! No timers to start, no buttons to click. Chronode tracks your time automatically.
Project Detection
This app was originally intended for developers who use IDE's or code editors, however it has since grown to support any application you have installed on your Mac. That said only a few applications current support project detection, but this may grow over time.
Apps with Project Detection
Full Information about which applications support project detection are detailed within the Project Detection section of this documentation. When working in these apps, Chronode will show each detected project underneath.
Other Apps
Any application can be monitored, but apps not in the supported list will only track:
- Total time spent in the application
- Session start/end times
- No project-level breakdown
Quick Start Checklist
What Happens Next?
- Chronode runs silently in your menu bar
- Time accumulates automatically as you work
- View stats anytime by clicking the menu bar icon
- Sessions are saved even if apps crash or are force quit
- All data stays local on your Mac meaning no cloud, no accounts
