Chronode includes automatic database recovery to protect your data in the event of corruption. This guide explains what happens during recovery and how to manage your data.
What is DB Recovery?
Database recovery is an automatic process that activates when Chronode detects a corrupted database file. This can happen due to:
- Unexpected system crashes or power loss
- Disk errors or hardware failures
- File system corruption
- Forced app termination during database operations
When corruption is detected, Chronode will automatically:
- Create a backup of your corrupted database
- Start fresh with a new, clean database
- Display a notification explaining what happened
The Recovery Process
What Happens Automatically
When you launch Chronode and database corruption is detected:
Backup Creation
Your corrupted database is automatically backed up with a timestamped filename:
Chronode_CORRUPTED_[timestamp].sqlite
Fresh Start
A new, empty database is created automatically
Notification
You'll see one of two alerts:
Success (Most Common)
- Title: "Database Recovered"
- Message: Explains the recovery and shows the backup location
- Action: Click "Continue" to use the app with a fresh database
Failure (Rare)
- Title: "Database Recovery Failed"
- Message: Recovery attempt unsuccessful
- Action: Contact support for assistance
Where is the Backup Stored?
Your corrupted database backup is stored at:
~/Library/Application Support/CodelDev.Chronode/Chronode_CORRUPTED_[timestamp].sqlite
To access this location:
- Open Finder
- Press
Cmd + Shift + G(Go to Folder) - Paste:
~/Library/Application Support/CodelDev.Chronode/ - Press Enter
You'll see your backup file(s) with names like:
Chronode_CORRUPTED_1730123456.789.sqlite
What Data is Affected?
After recovery, the following data will be reset:
- Tracked time sessions (historical data)
- Projects and categories
- Monitored applications
- Statistics and charts
The following data is not affected:
- Your Pro license (remains active - stored separately)
- App settings and preferences (remain intact)
Important: Your license key is stored separately and is not affected by database recovery. You will remain a Pro user if you were one before the recovery.
Next Steps After Recovery
Option 1: Start Fresh (Recommended)
Simply continue using Chronode. The app will start tracking time from this point forward.
Best for:
- Users who don't need historical data
- Recent users with minimal tracked time
- Users who prefer a clean slate
Option 2: Attempt Data Recovery
Important: Database recovery is difficult and often unsuccessful. This guide is for advanced users comfortable with Terminal commands.
1. Locate Your Backup File
cd ~/Library/Application\ Support/com.codeldev.Chronode/
Your backup is named: Chronode_CORRUPTED_[timestamp].sqlite
2. Create a Working Copy
cp Chronode_CORRUPTED_[timestamp].sqlite ~/Desktop/corrupted_copy.sqlite
cd ~/Desktop
Replace [timestamp] with your actual file's timestamp.
3. Attempt SQLite Recovery
sqlite3 corrupted_copy.sqlite ".recover" | sqlite3 recovered.sqlite
4. Check If Recovery Worked
sqlite3 recovered.sqlite "PRAGMA integrity_check;"
If you get the ok message returned, check the data count using:
sqlite3 recovered.sqlite "SELECT COUNT(*) FROM ZHISTORICSESSION;"
If you see a reasonable number (not 0), recovery was successful. If errors are displayed then recovery failed and the data is likely unrecoverable.
5. Restore (Only if Step 4 Succeeded)
# Quit Chronode first (Cmd + Q)
cd ~/Library/Application\ Support/com.codeldev.Chronode/
mv Chronode.sqlite Chronode_backup.sqlite
cp ~/Desktop/recovered.sqlite Chronode.sqlite
# Launch Chronode and verify your data appears
Alternative: Export to CSV
If recovery partially worked:
sqlite3 -header -csv recovered.sqlite "SELECT * FROM ZHISTORICSESSION;" > sessions.csv
sqlite3 -header -csv recovered.sqlite "SELECT * FROM ZDAILYTIMESUMMARY;" > summaries.csv
External Tools
The following resources are provided as possible tools to help with sqlite data recovery:
Free tool with GUI: DB Browser for SQLite
- Download and install
- Open your corrupted file
- May be able to export some data
Online Resources
- SQLite Recovery Docs: https://www.sqlite.org/recovery.html
- Stack Overflow: https://stackoverflow.com/questions/tagged/sqlite+recovery
Preventing DB Corruption
While Chronode includes safeguards to prevent corruption, you can further protect your data:
1. Regular Exports
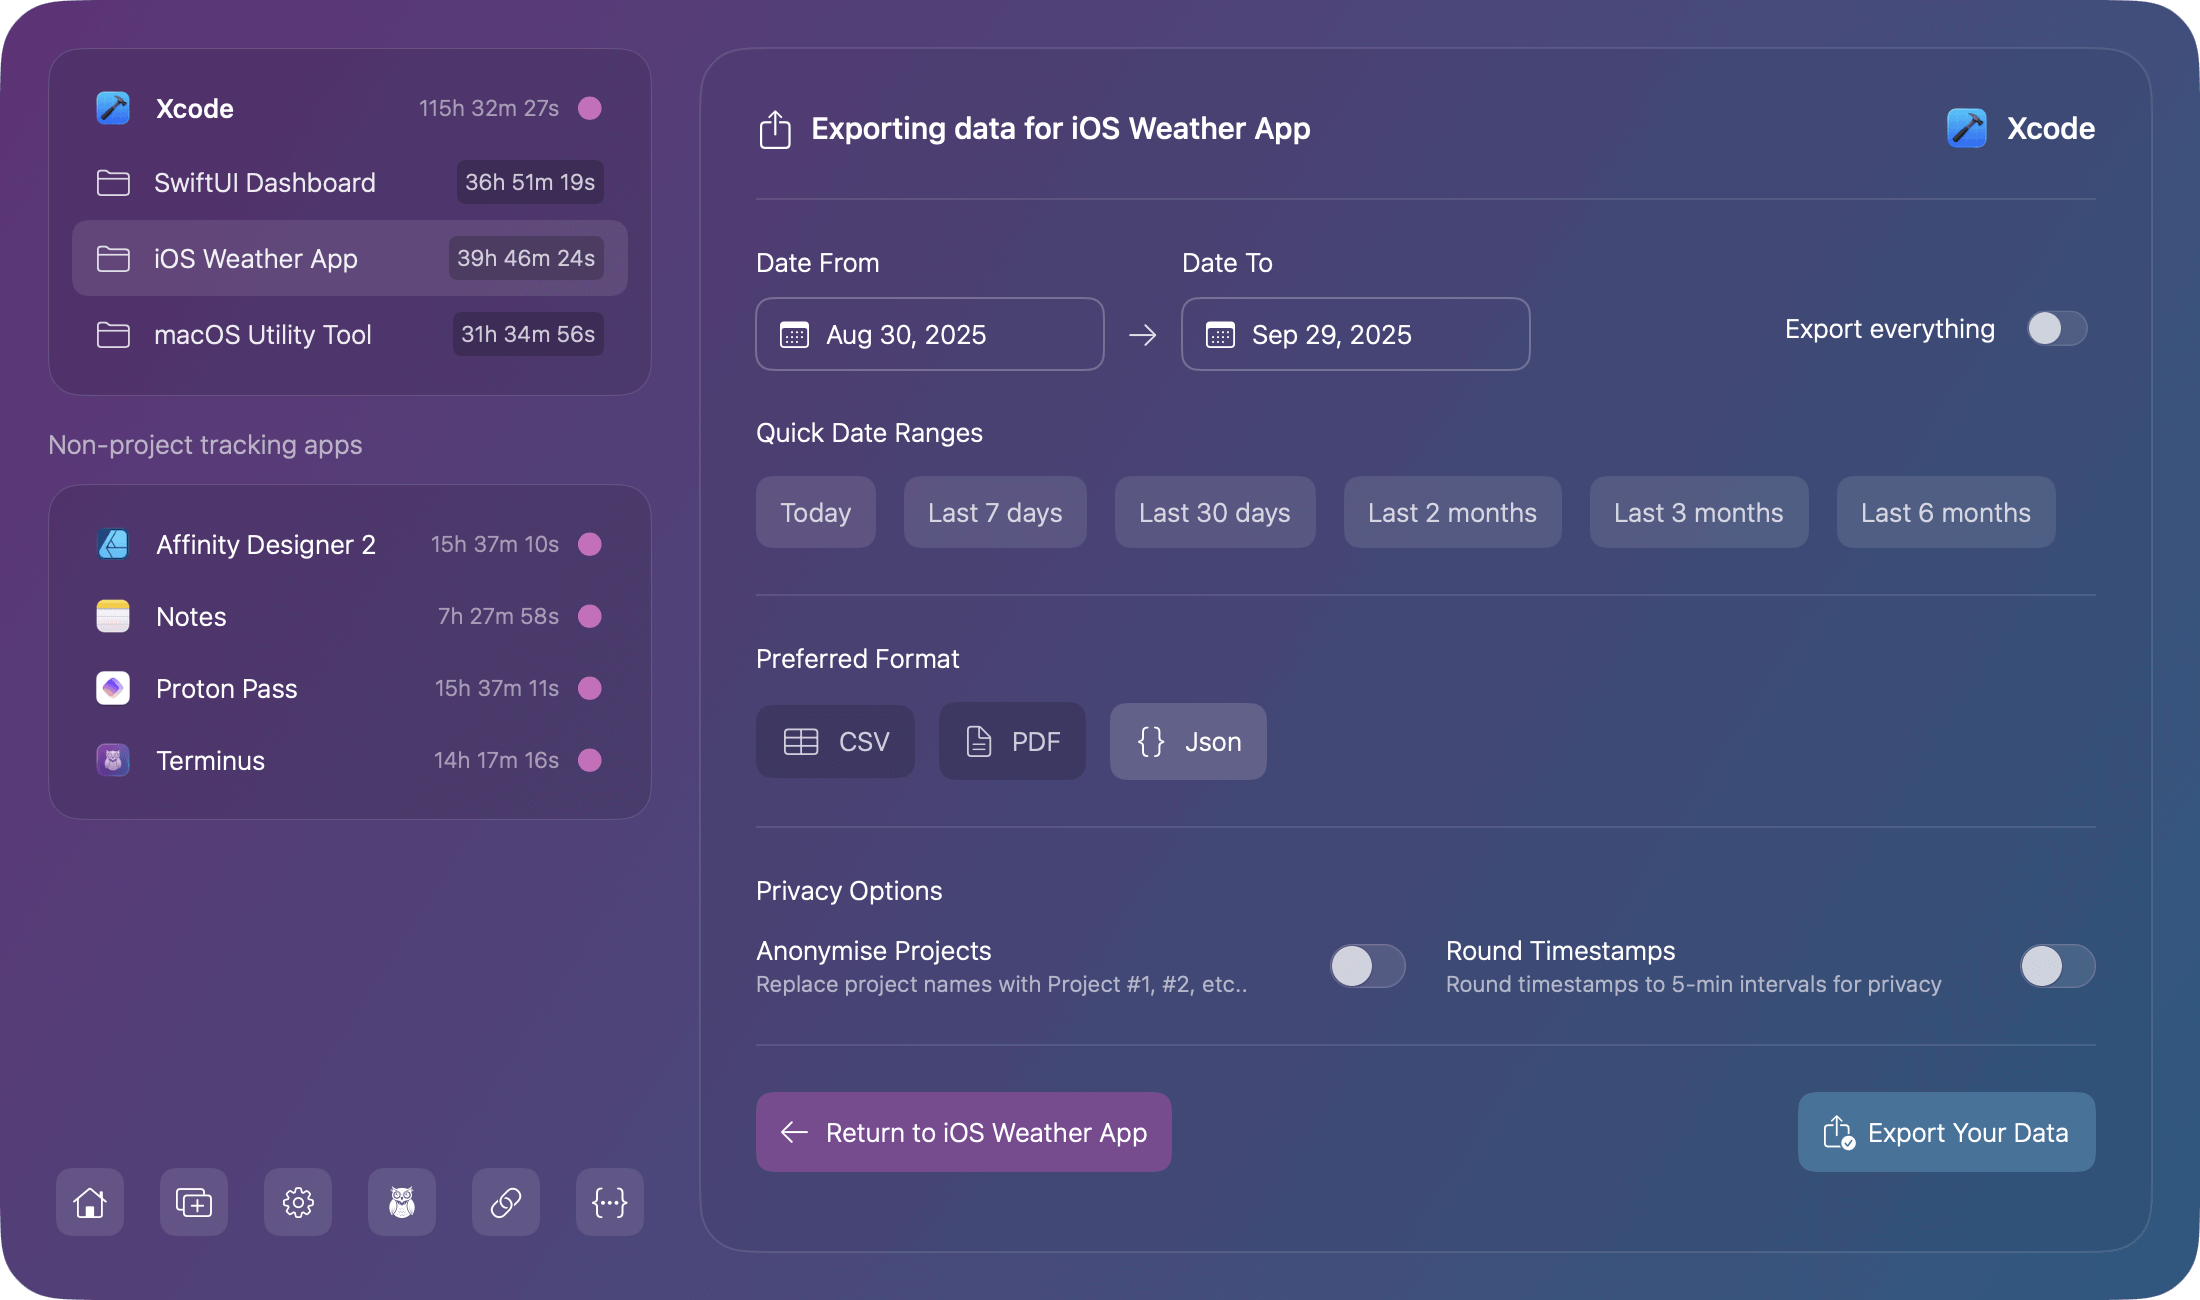
Export your data regularly to have backups:
- Open Chronode
- Select an app or project in the sidebar
- Click the menu icon (three dots)
- Select "Export Data"
- Choose your format (CSV, JSON, or PDF)
- Save to a safe location
Recommendation: Export monthly for important projects
2. Time Machine Backups
macOS Time Machine will automatically back up your Chronode database:
- Location:
~/Library/Application Support/CodelDev.Chronode/ - File:
Chronode.sqlite
If you use Time Machine, you can restore previous versions of your database if needed.
3. Avoid Force Quitting
Avoid force quitting Chronode while it's actively tracking:
- ✗ Force Quit (Cmd + Opt + Esc)
- ✓ Normal Quit (Cmd + Q or Menu → Quit)
Chronode saves data in batches to reduce disk wear, so force quitting during a save operation can cause corruption.
4. Keep Adequate Disk Space
Ensure your Mac has sufficient free space:
- Minimum: 500 MB free space
- Recommended: 1 GB+ free space
Low disk space can cause write failures and corruption.
Time Machine Restore
If you have Time Machine backups and want to restore your database:
Before Restoring
- Quit Chronode completely (Cmd + Q)
- Back up your current database*(even if corrupted) to a safe location
Restoration Steps
- Open Finder
- Navigate to:
~/Library/Application Support/CodelDev.Chronode/ - Right-click on the
Chronode.sqlitefile - Select "Restore '[filename]'..." from the menu
- Choose the backup date you want to restore from
- Click "Restore"
- Launch Chronode
Note: Time Machine must be enabled and have backed up your system for this to work.
Manual DB Management
For advanced users who want to manually back up or manage their Chronode database, this section explains where your data is stored and how to safely create backups.
Locating Your Database
Your active Chronode database is stored in your Mac's Application Support folder:
~/Library/Application Support/com.codeldev.Chronode/Chronode.sqlite
Associated files:
Chronode.sqlite-shm(shared memory file)Chronode.sqlite-wal(write-ahead log)
Important: Never modify or delete these files while Chronode is running.
Creating Manual Backups
To create a manual backup of your database:
- Quit Chronode completely (Cmd + Q)
- Navigate to:
~/Library/Application Support/CodelDev.Chronode/ - Copy the following files to a safe location:
Chronode.sqliteChronode.sqlite-shmChronode.sqlite-wal
- Name your backup with the date (e.g.,
Chronode_Backup_2025-01-15.sqlite)
Restoring Manual Backups
To restore from a manual backup:
- Quit Chronode completely (Cmd + Q)
- Navigate to:
~/Library/Application Support/CodelDev.Chronodee/ - Delete or rename the current database files:
Chronode.sqliteChronode.sqlite-shmChronode.sqlite-wal
- Copy your backup file to this location
- Rename it to exactly:
Chronode.sqlite - Launch Chronode
Warning: Restoring backups will replace all current data with the backup data. Export your current data first if you need to preserve it.


